Hi folks! In this article, I will share with you how I was able to fix our broken kitchen stove.
I’m not a professional repair tech by any stretch of the imagination. All I did was a little bit of research mixed with common sense, and strong determination to learn how to fix our broken stove since we were not particularly excited to spend $1000 for a new one. So take this story with a grain of salt and do it only if you are absolutely sure you have the same issue. Do it and at your own risk. Read my full legal disclosure here.
One day my wife said she heard a loud pop and the stove just shut off completely. I checked the power outlet and the breaker in the garage, but nothing looked too promising. The thing was flat out dead.
I called my friend who used to do appliance repairs for a living, and he graciously advised to check the main control board.
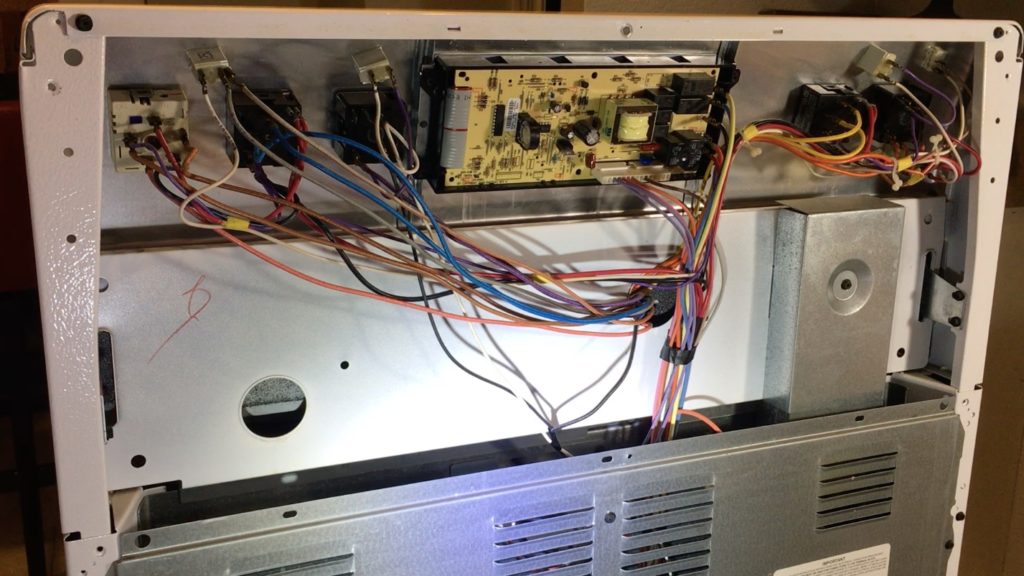
So I did exactly what he told me to do. First, I turned off the breaker for the oven in my garage. Then I pulled out the stove from its bay and unplugged it from the wall. Then I removed the metal panel in the back to reveal the control board.
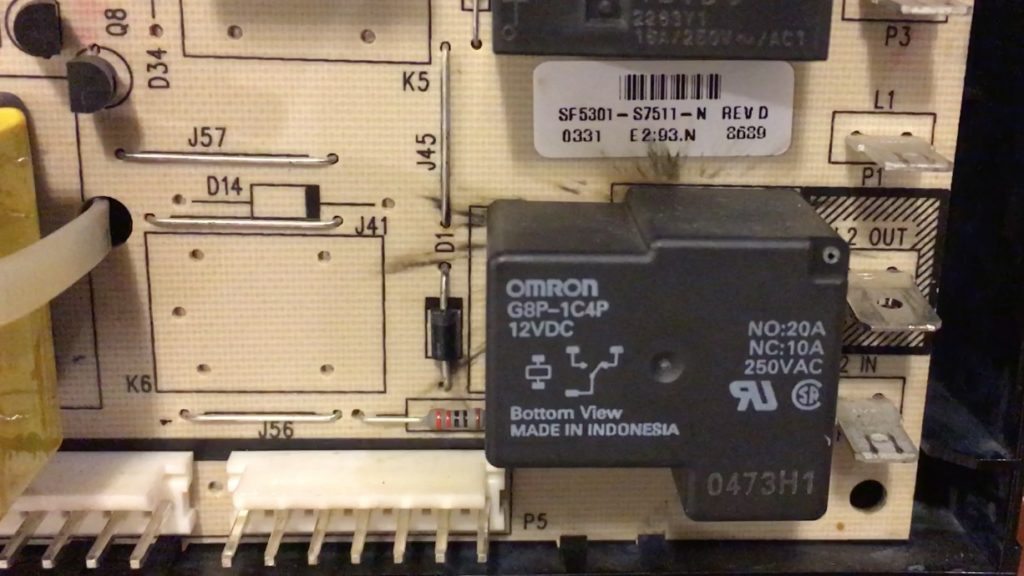
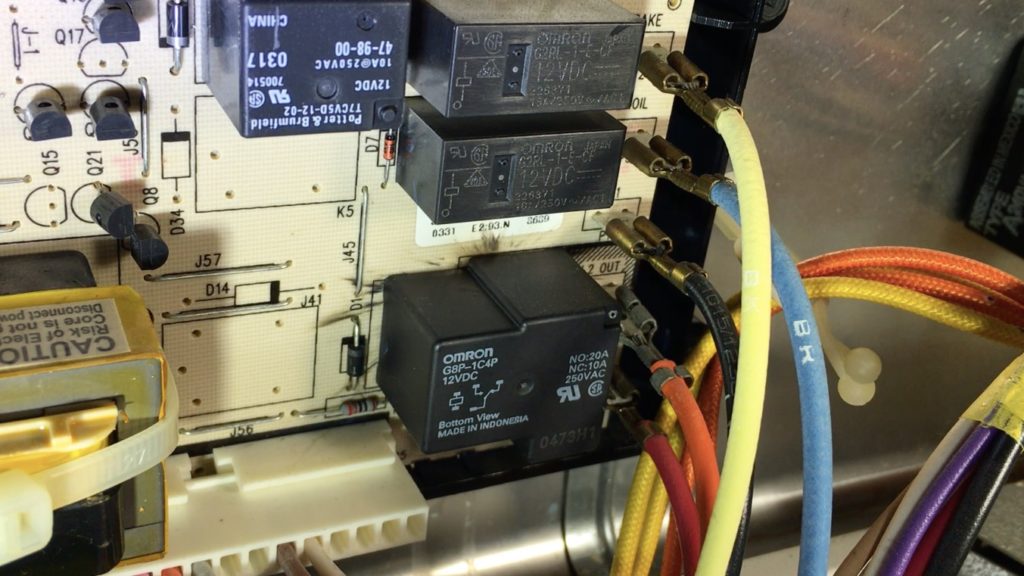
I inspected it for any signs of damage and sure enough one of the components was toast.
I then found the exact model number on the sticker inside the storage compartment on the bottom of the oven. Using that valuable information, I did a thorough research and quickly found out that online prices were much more attractive than the ones from the nearest local parts distribution centers.
I fund the best price for replacement logic board to be on Amazon.com. Combined with free 2-day shipping for Amazon Prime members, that was the best solution to the urgency of the situation. I wanted to get back to the delicious homemade dinner meals as soon as feasibly possible.
The replacement part was as promised at my door just two long days later.
I took a few photographs of the wiring on the old broken control board before removing it.
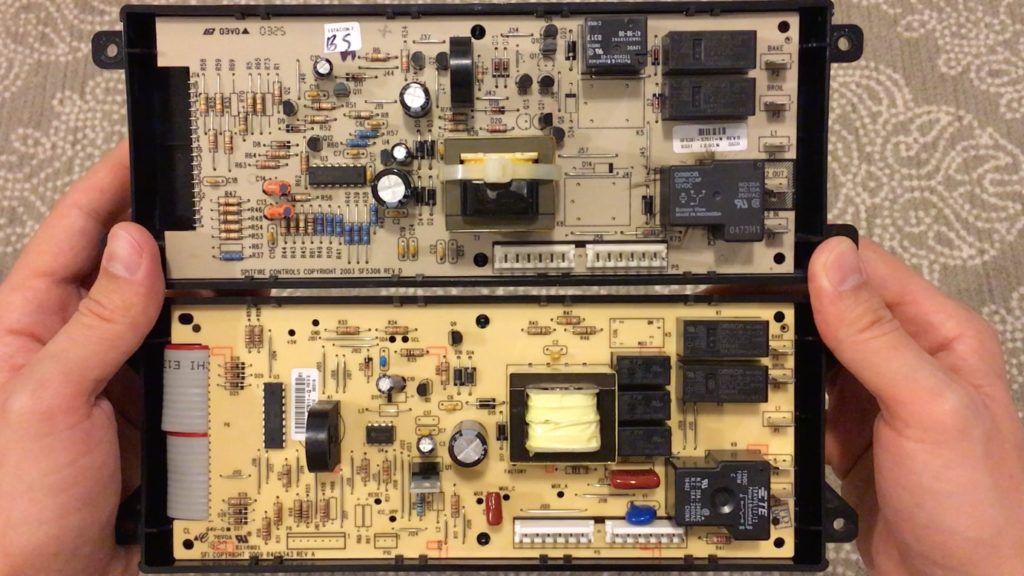
Then I visually compared the old and new control boards. They looked a little different, but the overall dimensions and marking were very similar.
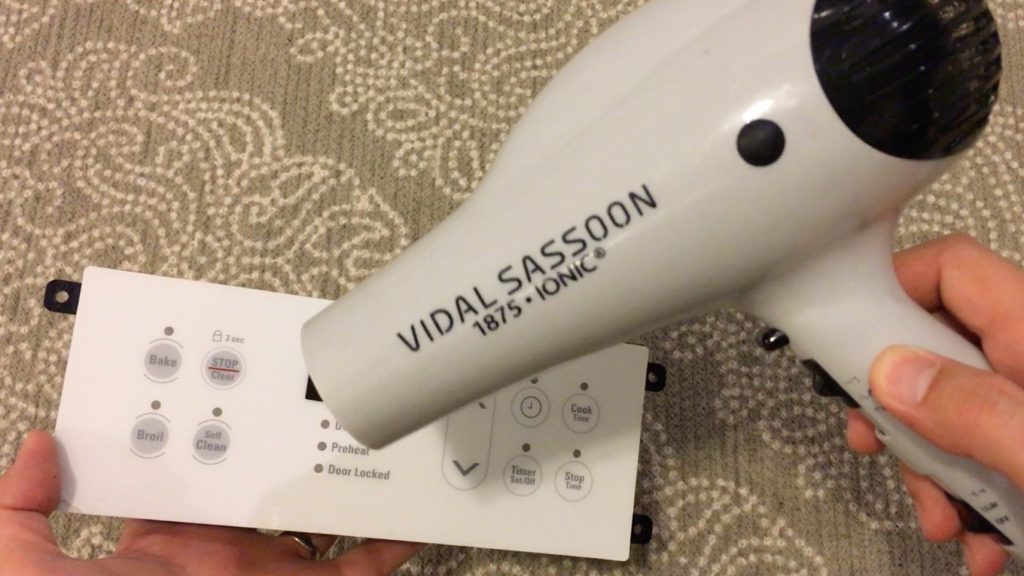
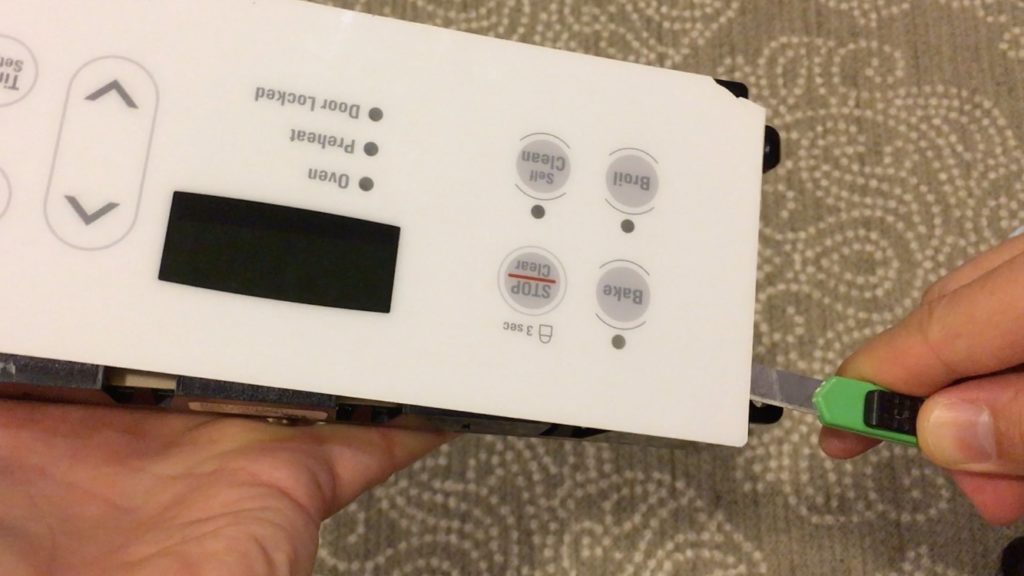
I swapped the control board and connected all of the wires fairly quickly and easily. The most time-consuming part was replacing the front plate. I could have ordered a new one for extra &10-20, but my old one was still in a good shape, so I decided to peel it off from the old control board. I had to patiently and carefully remove it without breaking it. The plate is very fragile and it was attached with some moderately strong adhesive. I detached it by heating it up with a hot air and then prying it up with a utility knife.
In the end, I plugged in the oven, turned on the breaker and successfully tested the oven. It still works great till this day and I’m happy I save a significant amount of money by repairing it myself. I hope this example will help someone, if so, please let me know by leaving a comment below. It is always great to receive your polite tips and feedback.
P.S. I also shot a quick video about replacing the logic board:

